Tuesday, July 23, 2013

Skyr

I usually make yoghurt for breakfast, but the other day decided to make the traditional Icelandic skyr.  I used to have skyr for breakfast and lunch when I was a kid, long before I had heard about something called yoghurt.

Skyr is really good and it's good for you.  Skyr is really a cheese, although we are used to it as a sweet dish.  It's always made from skim milk which we call "undanrenna" and has a fat content of 0,1%.  Which is practically no fat.  Not that I avoid fat.  We eat skyr with a mixture of cream and full fat milk, sugar and blueberries.  Which of course are only available in the autumn, but it seems that we always had them when I was young.  Now they are imported all year round, so I can have my skyr with blueberries, even if the imported berries taste a bit more watery than the small local variety of wild blueberries.

I haven't made skyr before, but it is surprisingly easy, although a bit more involved than making yoghurt.

I started with 2 liters (2 quarts) of skim milk and heated that up to 90°C / 195°F and held it for more than 3 minutes.  Then I cooled it down to 42°C / 108°F.

Next add fresh skyr (or skyr culture at 1% of the milk volume, if that is available).  I used fresh skyr with live cultures, about 1/2 cup for my 2 liters.  Yoghurt can be used instead of skyr.

Then add Rennet, only 1 drop per liter and stir it gently for a minute.

This needs to sit still for about 4-5 hours.  I put it in the oven and turned the heat to as close to 42°C / 108°F as I could.

By now the milk looks like a jelly (pretty much like cheese does at this stage) and now it needs to be sieved at room temperature.

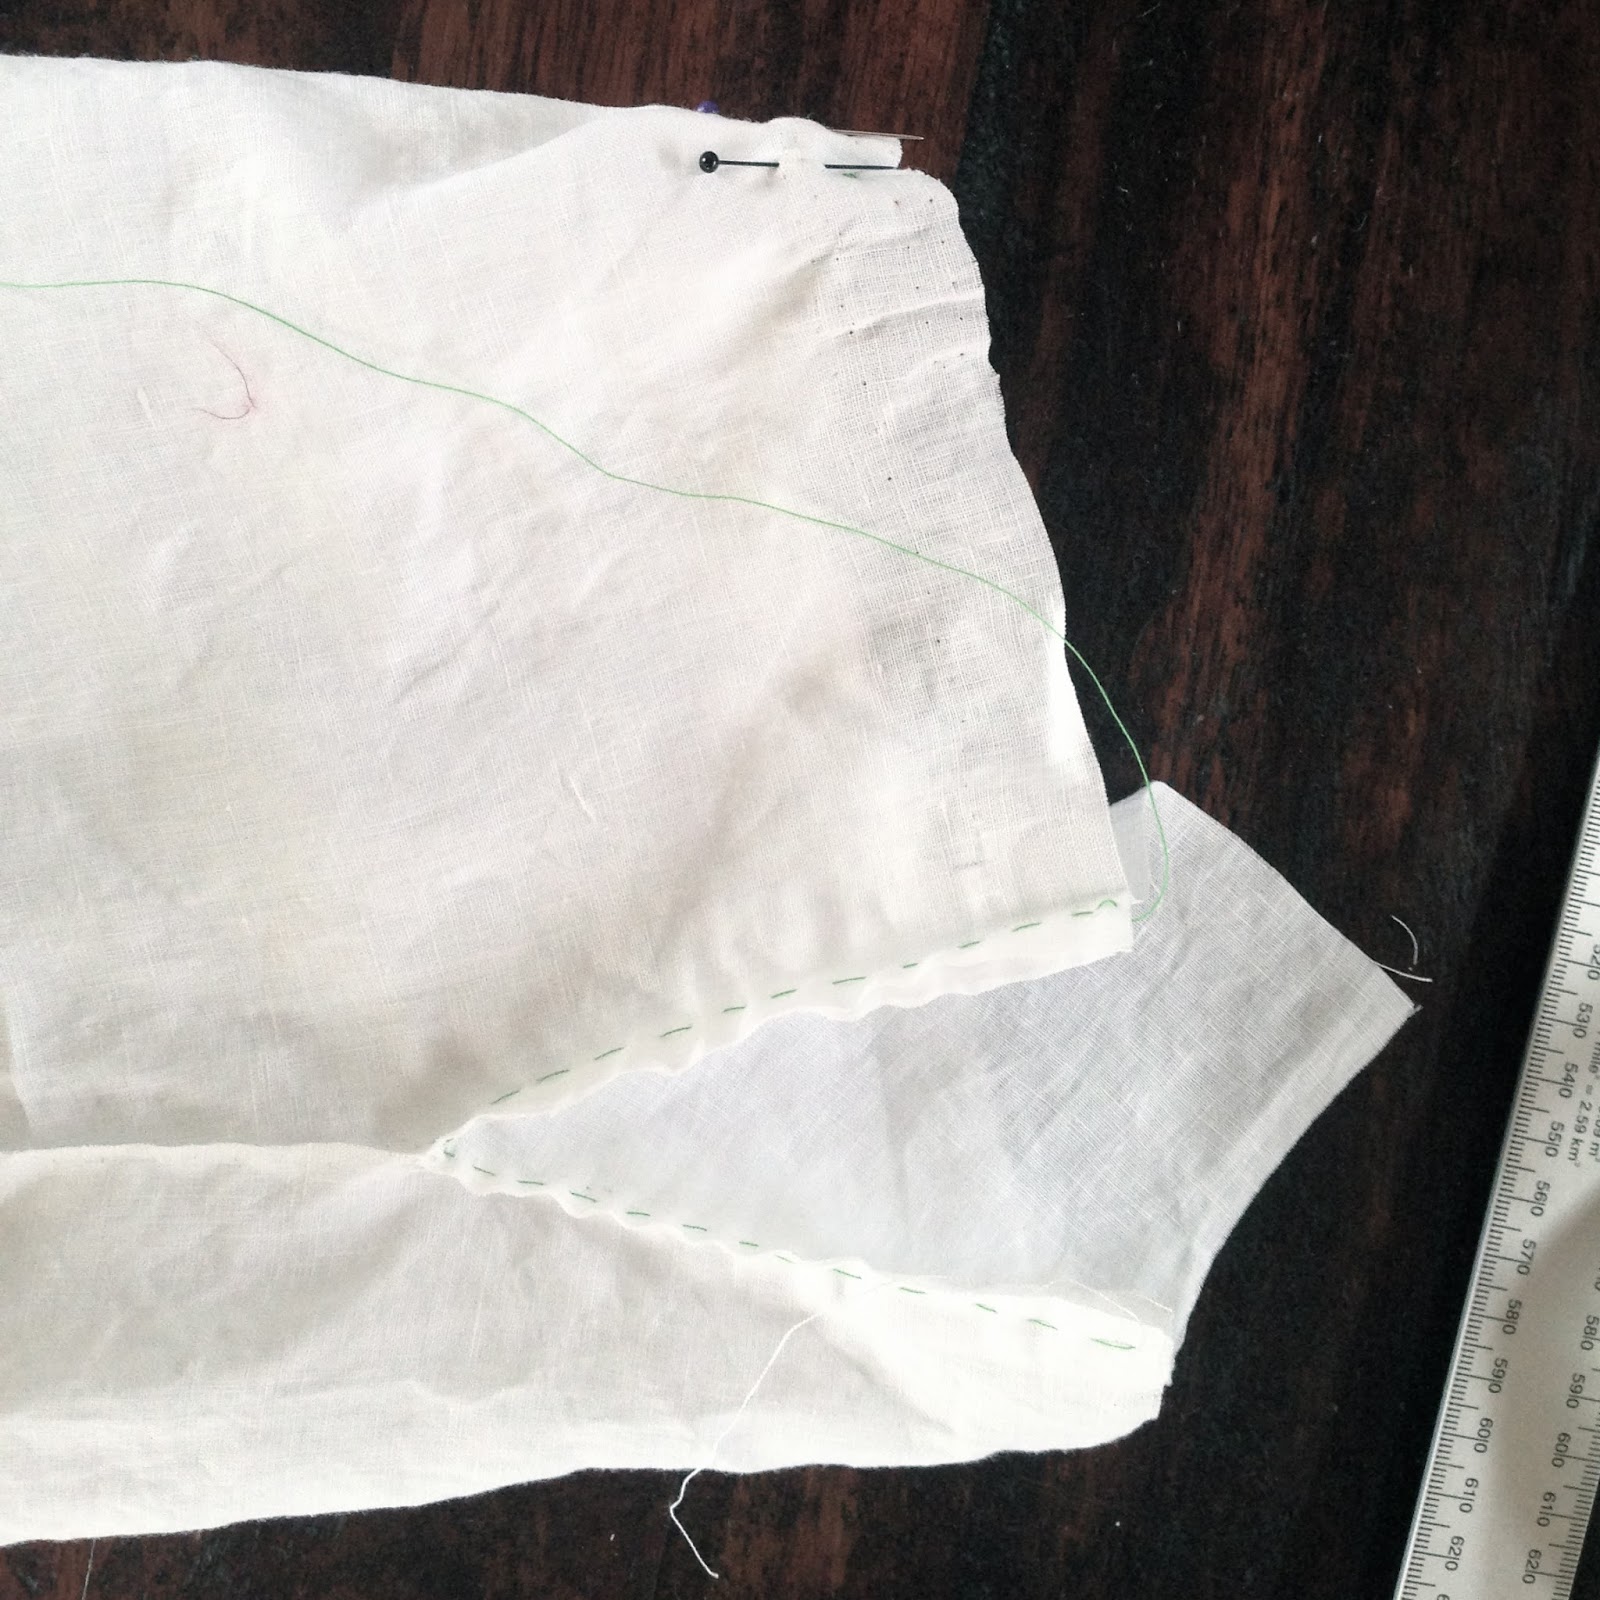
I did that using cheesecloth and let it sit for a few hours.  My instructions said 10 hours, but that wasn't necessary.  The whey drained very quickly.

I spooned the skyr into a jar and put it in the fridge to cool to below 10°C / 50°F at least.

At this stage the skyr is realy to eat and now one can add all sorts of flavors, sweet or savory.

My preference is to stir the skyr with some half and half and a little bit of honey.  I then store it and spoon it out for breakfast, pour some milk (or half and half) over it and add fruit.  Eat it with a tablespoon, a bit of skyr, some milk and a few berries.  Yumm.

Out of the 2 liters of skim milk I got 1/2 liter of skyr and a lot of whey.  The whey (called Mysa) used to be drunk as a refreshing drink in the olden days, tasting a bit sour.  My whey wasn't very sour since I only let it sit for 4-5 hours in the oven, but I have mixed it with Rhubarb syrup and some lemon juice as drink.  There is a bit of taste, that I need to get used to, but it's very healthy, full og nice gut loving bacteria.

Monday, July 15, 2013

Peasant Shirt - Sewing Instructions

The shirt that goes with the 19th century Upphlutur is a very simple peasant shirt. All the pattern pieces are rectangles and it's very easy to make adjustments to fit different sizes. This is a size L / 12 US / 14 UK / 42 European.

To make the shirt you need two shirt lengths of 150 cm / 60" wide fabric. Measure from mid shoulder and as far down as you would like the shirt to be long.  In my case it is about 80 cm /39,5".  So I would need 160 cm or 63" of fabric. My fabric is a fine bleached linen, but fine cotton is also used and even a blend of wool and cotton.

I hand sewed my shirt, using a combination of running stitch and back stitch, three running stitches and one back stitch.  The seams are first sewn together on the right side and then again on the back, so that the edges are hidden and there is no need to zik-zak. But it is perfectly acceptable to sew the shirt on a sewing machine and use zik-zak if one want to do that.  The pattern is in centimeters, but I have also included inches, but those are slightly rounded off.

Now cut two pattern pieces for the sleeves.  These measure 50 cm by 60 cm.

One one side you should mark 15 cm /6" from the center.  This is where you put small gathers on the sleeve.  On the same side mark 10 cm / 4"at the edge on both sides, this is where the square pieces will be fitted under the arms.

The main pattern piece is one long piece that is both front and back, so that there are no shoulder seams.  Mine was 55/22" cm wide by 155/62". I added about 2 cm (slightly less than an inch) in seam allowance all the way around.  Check a favorite shirt and measure it's with to see how wide you want your shirt to be.  Be aware that the wider the shirt body is, the lower on the shoulder the sleeves are going to be.

The shirt should be about 5 cm /2" shorter in the front, than in the back and have slits in the sides.   Mark for the slit on both sides of the front about 10 cm/ 4" up (12 with seam allowance) and on the back mark for the slit about 15 cm (17 cm) on both sides.

Also mark about 10 cm on either side of the mid shoulder line (see drawing).  This is where the gathered part of the sleeve is going to be.  Note that the shoulder seam is 80 cm from the bottom of the back and 75 cm from the bottom of the front.


Also, cut a neck lining. In my case a rectangle measuring 7 cm /3" by 43 cm /17".

Now comes the only tricky part.  You need to draw the neckline and cut that.  It's not hard, but cutting into fabric like that can be daunting.
Mark the center of the fabric and the shoulder seam.  From there measure 3 cm / 1 1/4"towards the back and 12,5 cm / 5" fowards the front.  Then measure 7,5 cm / 3" to either side (see drawing).
Then draw the rounded out shape as you see in the picture. Also measure 17,5 cm/ 7" down from the front of the neck opening, for the slit in the front and cut that.
You can adjust these measurements slightly to fit your size, although I have a very average size head and neck so it should fit most sizes.

Now cut the pattern pieces for the sleeves.  Two pieces that measure 50 cm/20" by 60/24" cm plus seam allowance.  On one end, measure 15 cm from the center on either side to mark for gathers.  On the other mark for the slits, 11/4,3" cm.

Also cut the lining for the sleeves, 7 cm by 25 cm plus seam allowance.

Also cut two square pieces, 10 by 10 cm/4" by 4" plus seam allowance.  This will be inset under the arms so that the arms are not too tight.
To start sowing it's best to begin to sew all the slits.  Start with the slits in the large piece. There's two in the front and two in the back. Then do the sleeve slits.

I rolled them twice, 1 cm wide,  and then stitched them down using tiny stitches so that there is no need for zik-zak. 
Then do the opening at the neck.  Do not worry about the very bottom, it will be hidden with a fold that is put in at the end.

Here is a detail of the bottom of the neck opening.  The seam is tapered to the bottom.  I stitched this in place with small stitches using linen thread.  This can also be sewn in machine close to the edge. 

Here is a detail of the slits which shows how they are tapered on one end.  Now sew the sleeves together leaving 10 cm /4" at the top. This is where the small square piece is sewn in.

Next sew in the two small square pieces one to each sleeve.  They are placed like a diamond between the seams in the sleeves.  The other two sides are eventually sewn to the large piece as a part of the sleeve.  Note how this square piece is sewn in place so that the seam tapers towards the edge.


Now the sleeves need to be gathered to fit the main pattern piece.  There are 30 sm that need to be gathered down to 20 cm.
Since I wasn't using a machine I made tiny folds instead of gathers and pinned them down, but gathering by machine is also very acceptable.

Once this is the correct measurement the sleeves can be sewn to the main piece.  And then finally the long side seam and 

Now the linings at the neck and the sleeves are sewn.  First attach one long side and stitch in place.  Then fold over and fold the seam in and stitch the lining in place (hiding the seam) and make the edges flush with the slits.

At the wrists the fabric is folded a few times to fit the lining.  There is no specific measurement because the width of the sleeve and the wrists varies, but on my shirt there were 8 folds on the front of the sleeve and 1 towards the back.
Almost finished!
First sew buttons onto the lining of the sleeves.  These come on the front of the sleeve and the buttonhole, which is towards the back.

I find it easier to do buttonholes by hand, but some machines also do a great job of it.

Lastly, sew a small fold into the bottom of the neck slit.  I stiched a small heart, but it can be a simple square.

Sombre colours

I bought this fantastic linen yarn on a cone. It was quite fine and I usually like chunky yarns to knit.  But I love linen and this was a...