I heard about milk paint a few years ago and was really excited. Paint made from milk! Wow!
I immediately made plans to make some and test it out. However I lacked some of the material and the plans were put on hold until I had gotten hold of them.
I ended up ordering some stuff from Kramer pigments in Germany (they apparently also have
a shop in the US), but never really did anything with it. But the other day I got an excuse to start that process again and made some paint.
I want to refinish some dining chairs that I got for little money in a thrift store. I have plucked away the old and ugly fabric that covers them and am working on sanding the frames. I want to paint them with milk paint in an ivory or creamy colour and upholster them in linen. I have a thing for linen these days.
Milk paint is made from milk, lime and pigment, sometimes with the addition of Borax. The Borax helps the lime dissolve the casein protein in the milk so it makes for a smoother paint as well as provide some preservative qualities to it. But milk paint spoils easily so it should be used within a few days once it is mixed. Store it in the fridge in between uses, but let it reach room temperature before painting with it.
Milk paint adheres well to fresh wood and will give a strong and durable finish. It is a very good alternative to the plastic water based paints that are available.
For this recipe use 1 liter non-fat milk, ½ cup vinegar. 1 tsp borax and 1 cup of lime putty.
Let the milk and vinegar be at room temperature before your start.
Stir ½ cup of white vinegar into 1 liter (about a quart). Stir to mix the two liquids, but do not stir for long.
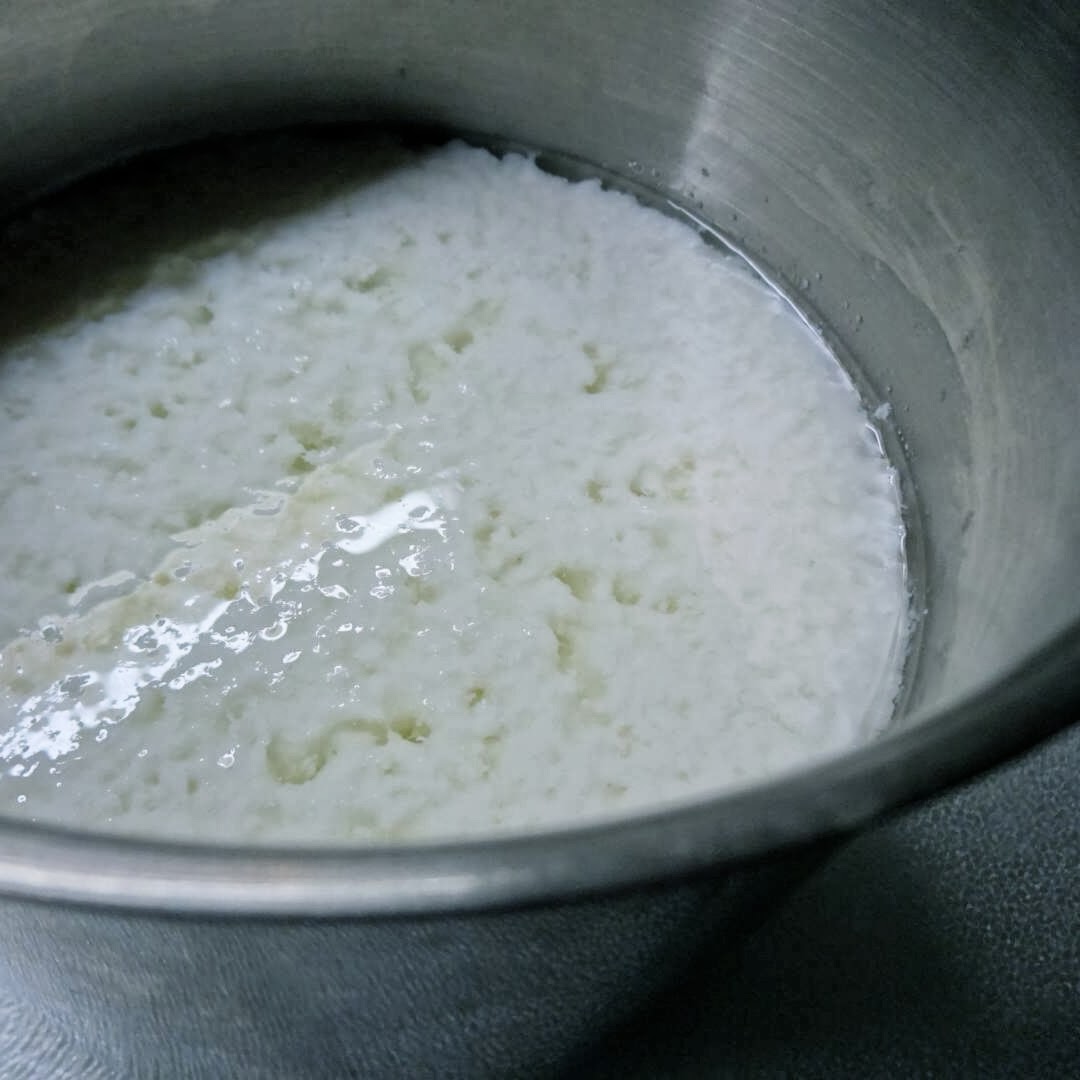
Let it sit still at room temperature overnight so that the milk protein curdles and separates from the whey. This is very similar to making cheese btw. |
|
The next day the curds should have formed and separated from the whey.
Line a sieve with cheesecloth and strain the whole lumpy mess.
|
|
After the whey has been separated then from the whey (which is discarded in this instance) the curds are given a good wash in cold water to wash away all the whey.
Strain.
Do this three times in oder to remove all vinegar and whey from the curds. |
|
After a thorough washing the clean curds are strained well.
I did this by tying the cheesecloth (ok, I used a cloth nappy) above the sink until only a few drops are dripping from the cloth.
Scrape the curds into a bowl. |
|
Now take a stick blender to mix in 1 tsp of Borax. This helps to get a smoother mix and also acts as a preservative.
Add the lime putty and stir with the stick blender. |
|
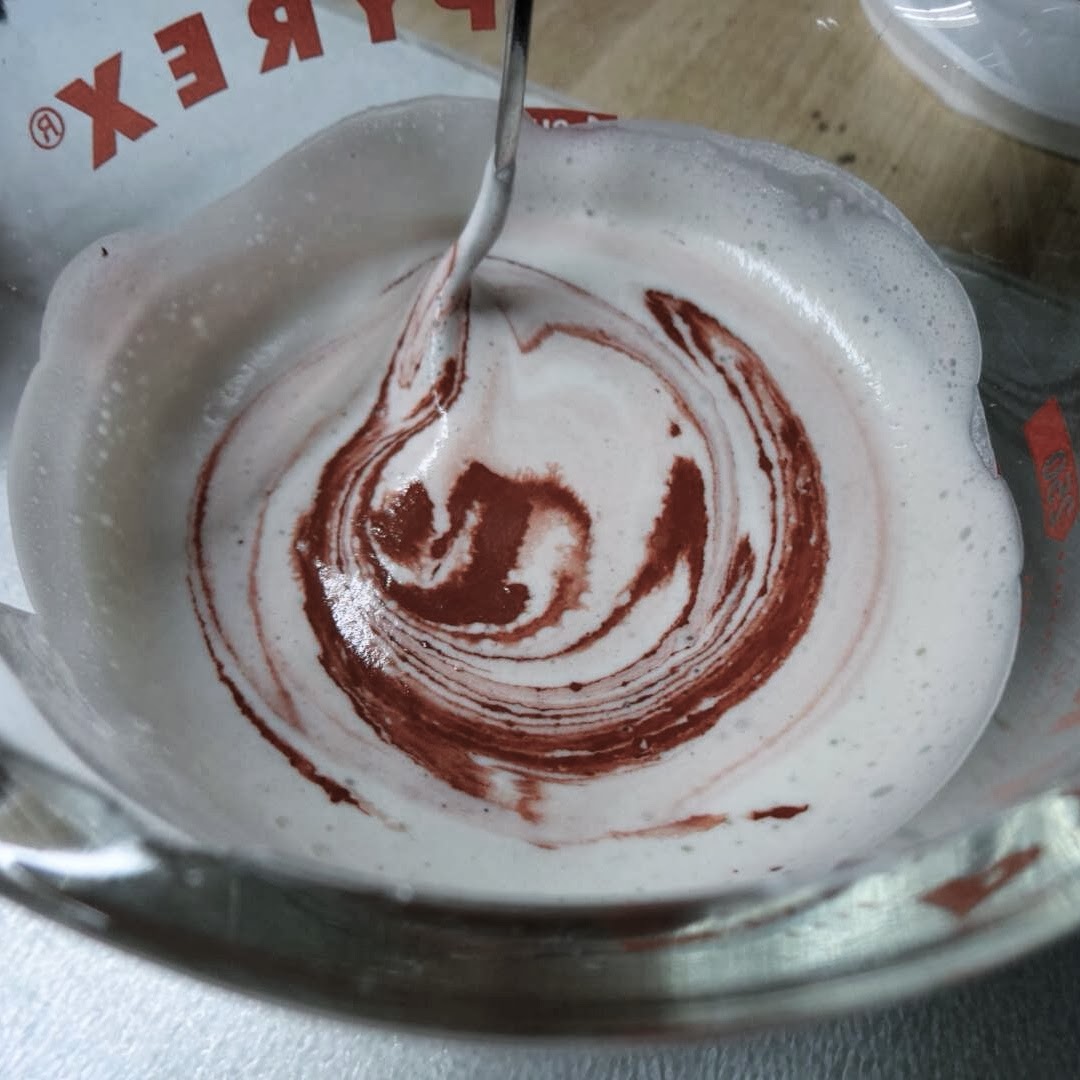
Now measure out the pigment. I split the milk paint mixture into 4 parts and measured 1 tbs of pigment for each part.
The pigments needs to be mixed with water prior to mixing into the milk paint mixture in order for it to disperse properly.
Mix it with equal amounts of water and let it sit for a bit before adding it to the paint.
|
|
My colors came from Kramer pigments as did the lime putty.
I used a lovely earthy red, yellow, green and gray. All natural and sumptuous colours. |
|
Let the paint sit for 15-20 minutes and then start to paint.
It is best to use milk paint on a freshly sanded surface, where it will adhere well.
It dries very quickly, so one can paint several layers without having to wait forever for it to dry in-between. |
|
The amount of pigment does matter to the saturation of colour. They will dry lighter than they look, but the colour can be adjusted by the addition of more pigment.
The colors do tend to be soft and old fashioned, which is part of the charm. |
|
To finish off the painted surface, it can be waxed with beeswax or furniture wax or alternatively given a final coat of a transparent glaze made of milk curds and linseed oil.
To make the glaze, make the curds as above, but do not add borax or lime. Instead drizzle linseed oil into the glaze as you use the stick blender to mix. Add pigment if you wish to tone the glaze. The pigment always needs to be slaked, which means: Measure equal amounts of water and pigment and let sit for an hour. Use this to glaze over the paint. Let dry.


Thank you so much for this recipe! Does it work for walls as well as for example wooden furniture? And can I ask, how you would apply the beeswax, if using it as a finish? I would have to be diluted somehow, wouldn't it?
ReplyDeleteIt should work on walls povided the surface isn't really shiny, but I haven't tried that. I'd do a test patch. The beeswax you just use it straight, wipe with a soft cloth and polish.
ReplyDelete